Gallery
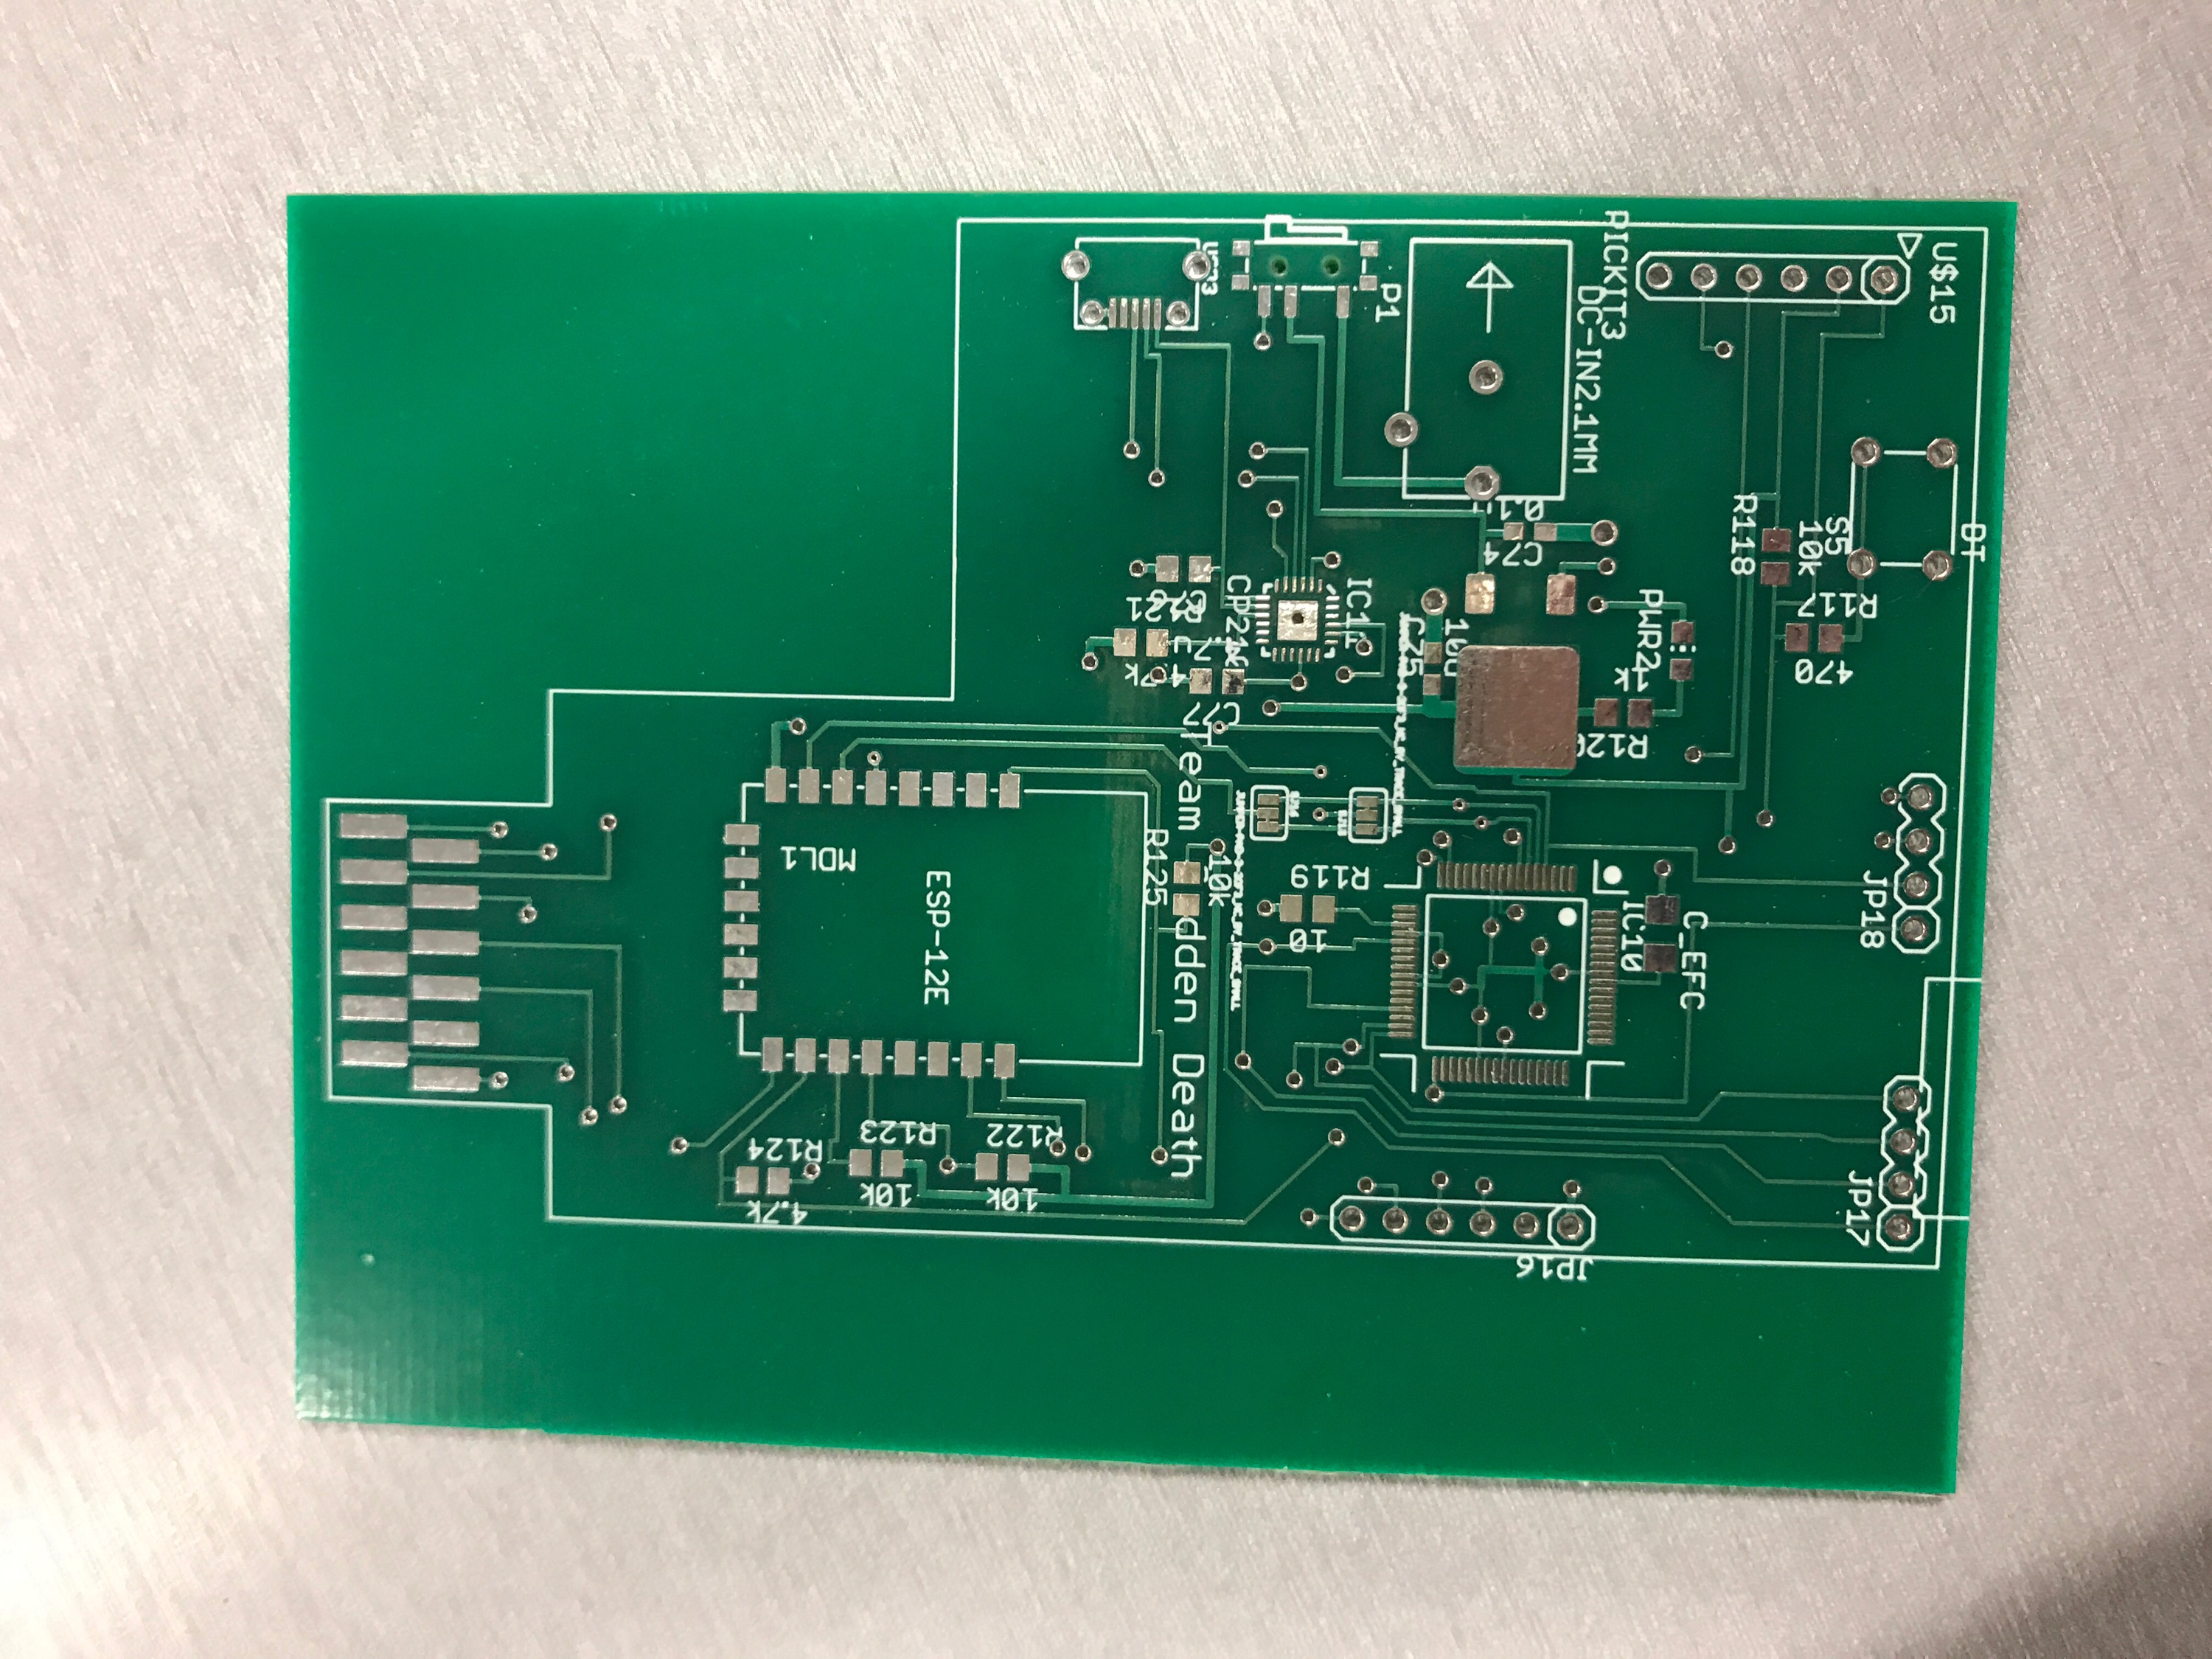
Uncut board
Our first and last design of the breadboard. In the future, we would probably design earlier in order to make revisions. Usually Professor Schafer will cut boards out for groups, but due to the irregular shape of our board, he required that we cut ours out ourselves.
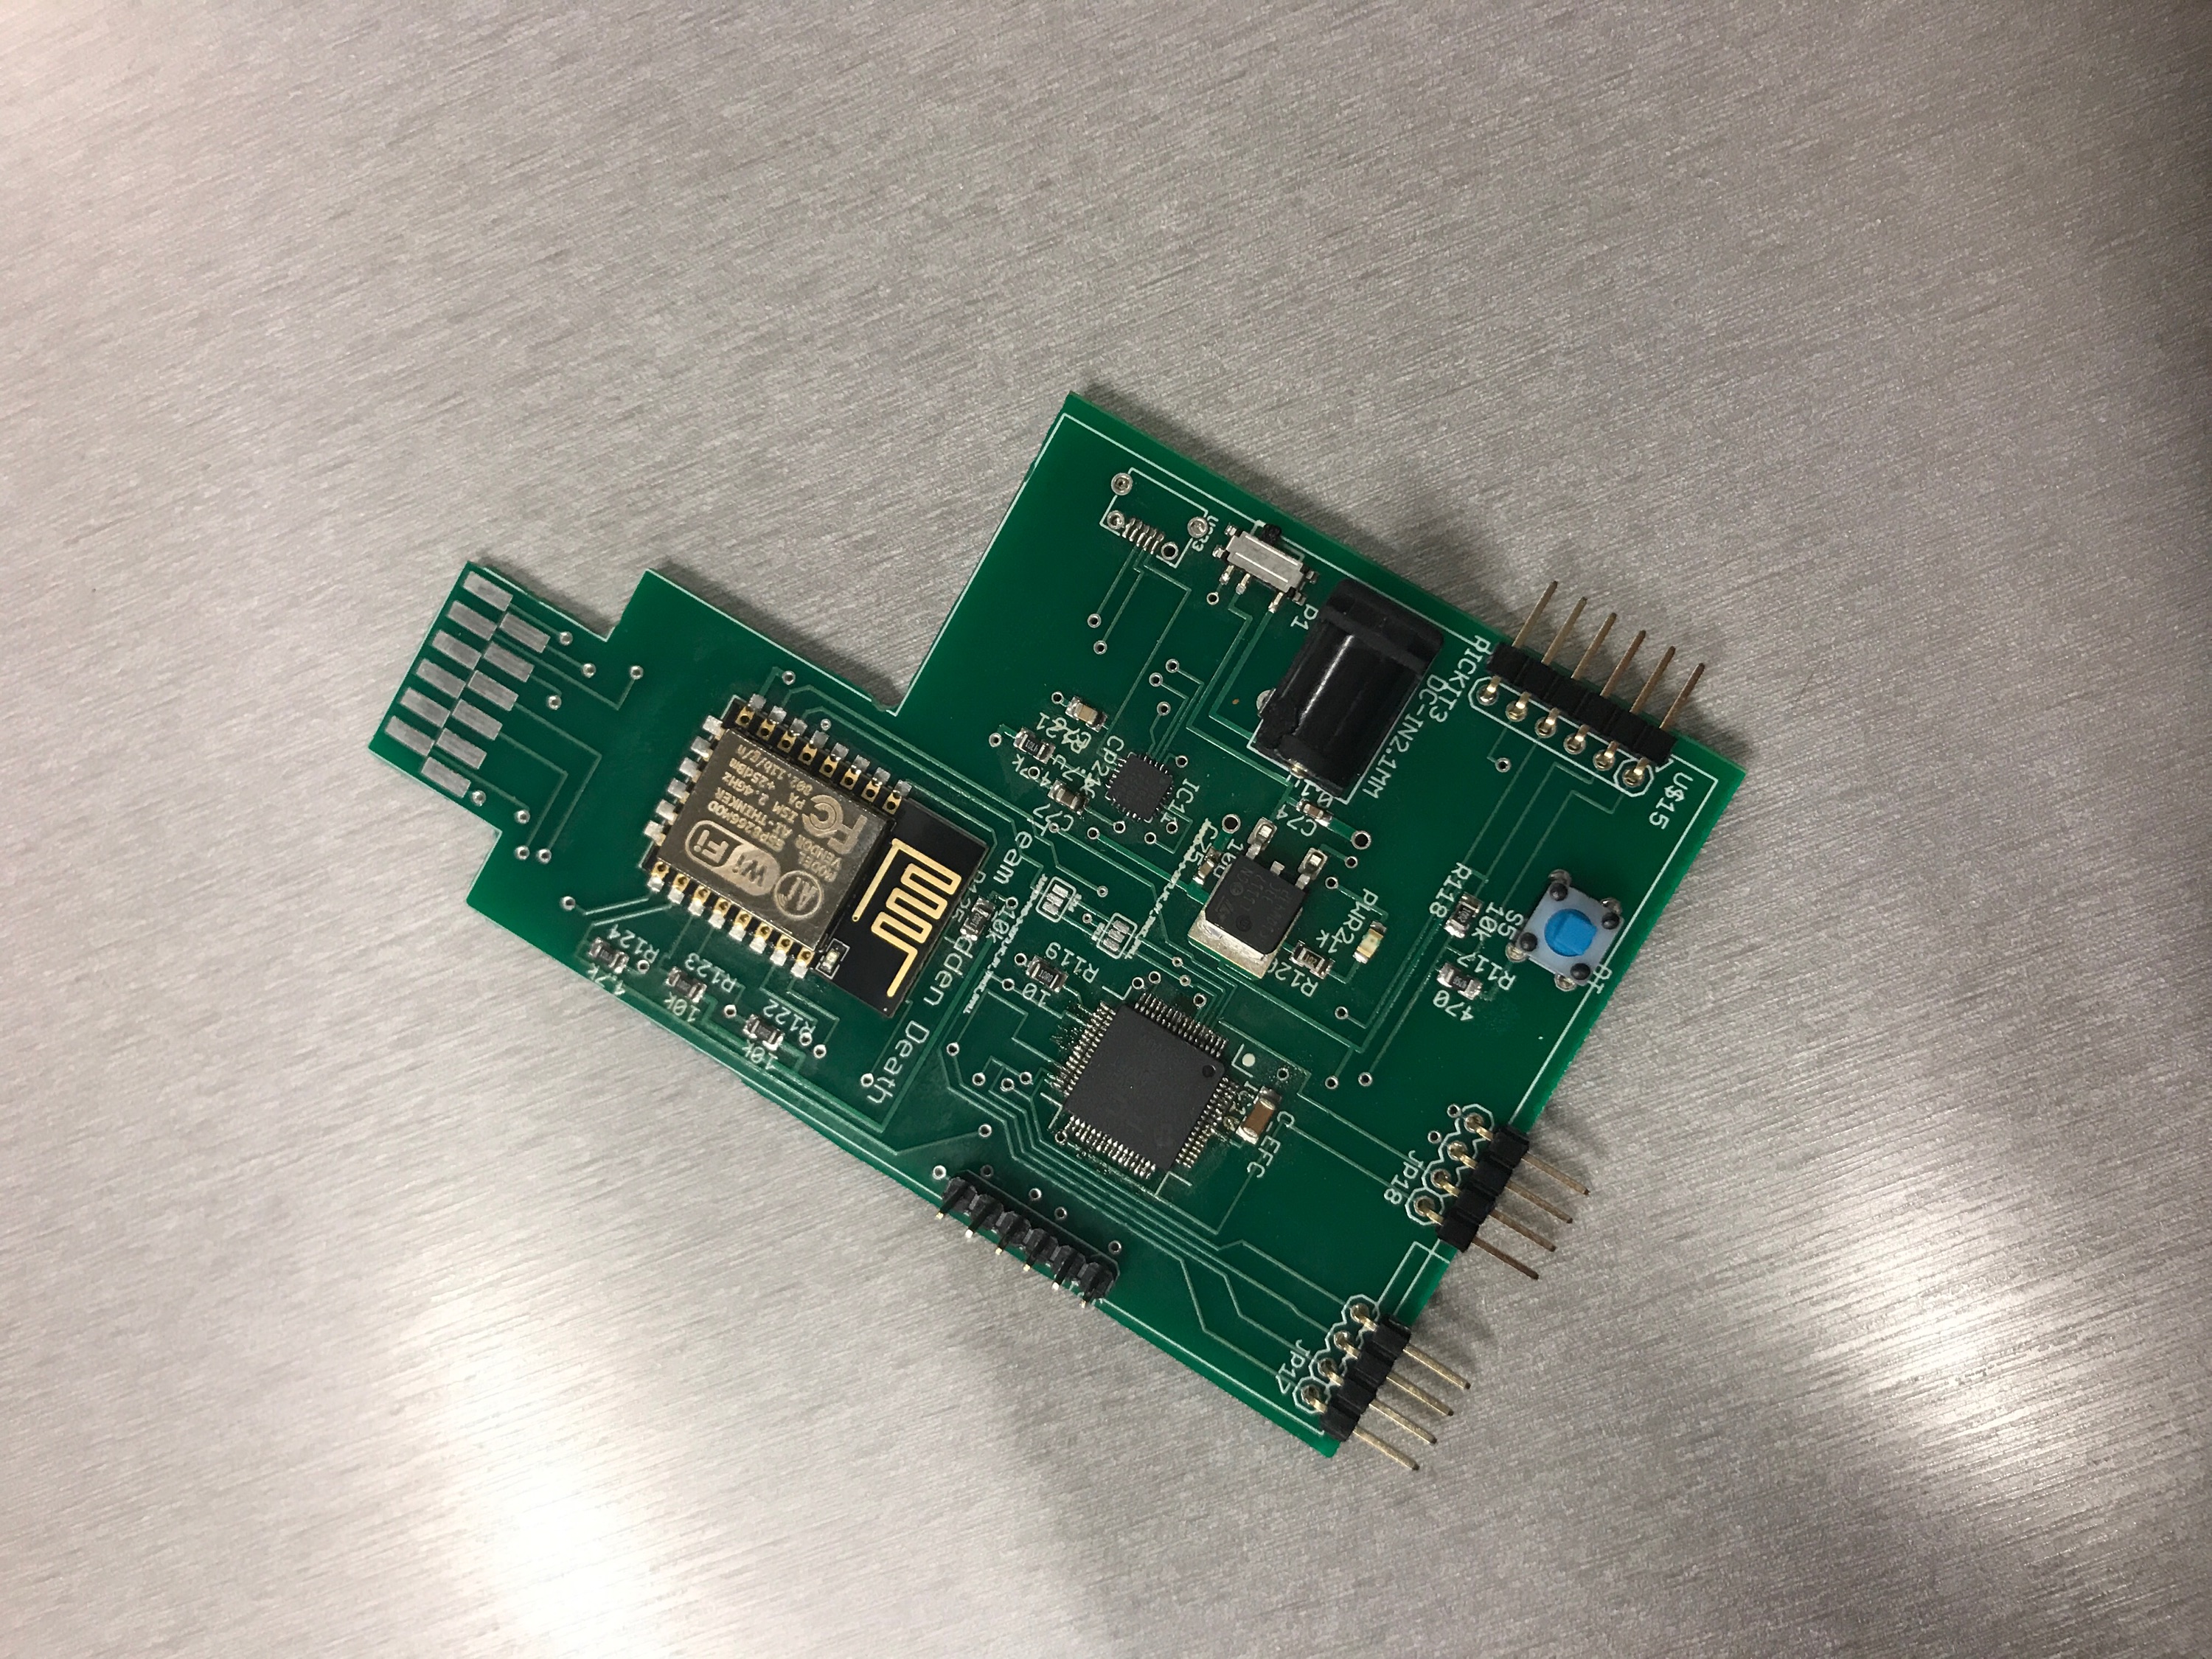
Soldered board
Breadboard after it has been cut, and parts have been soldered on. Because of its irregular shape, we had to use a bevel tool to cut it ourselves.
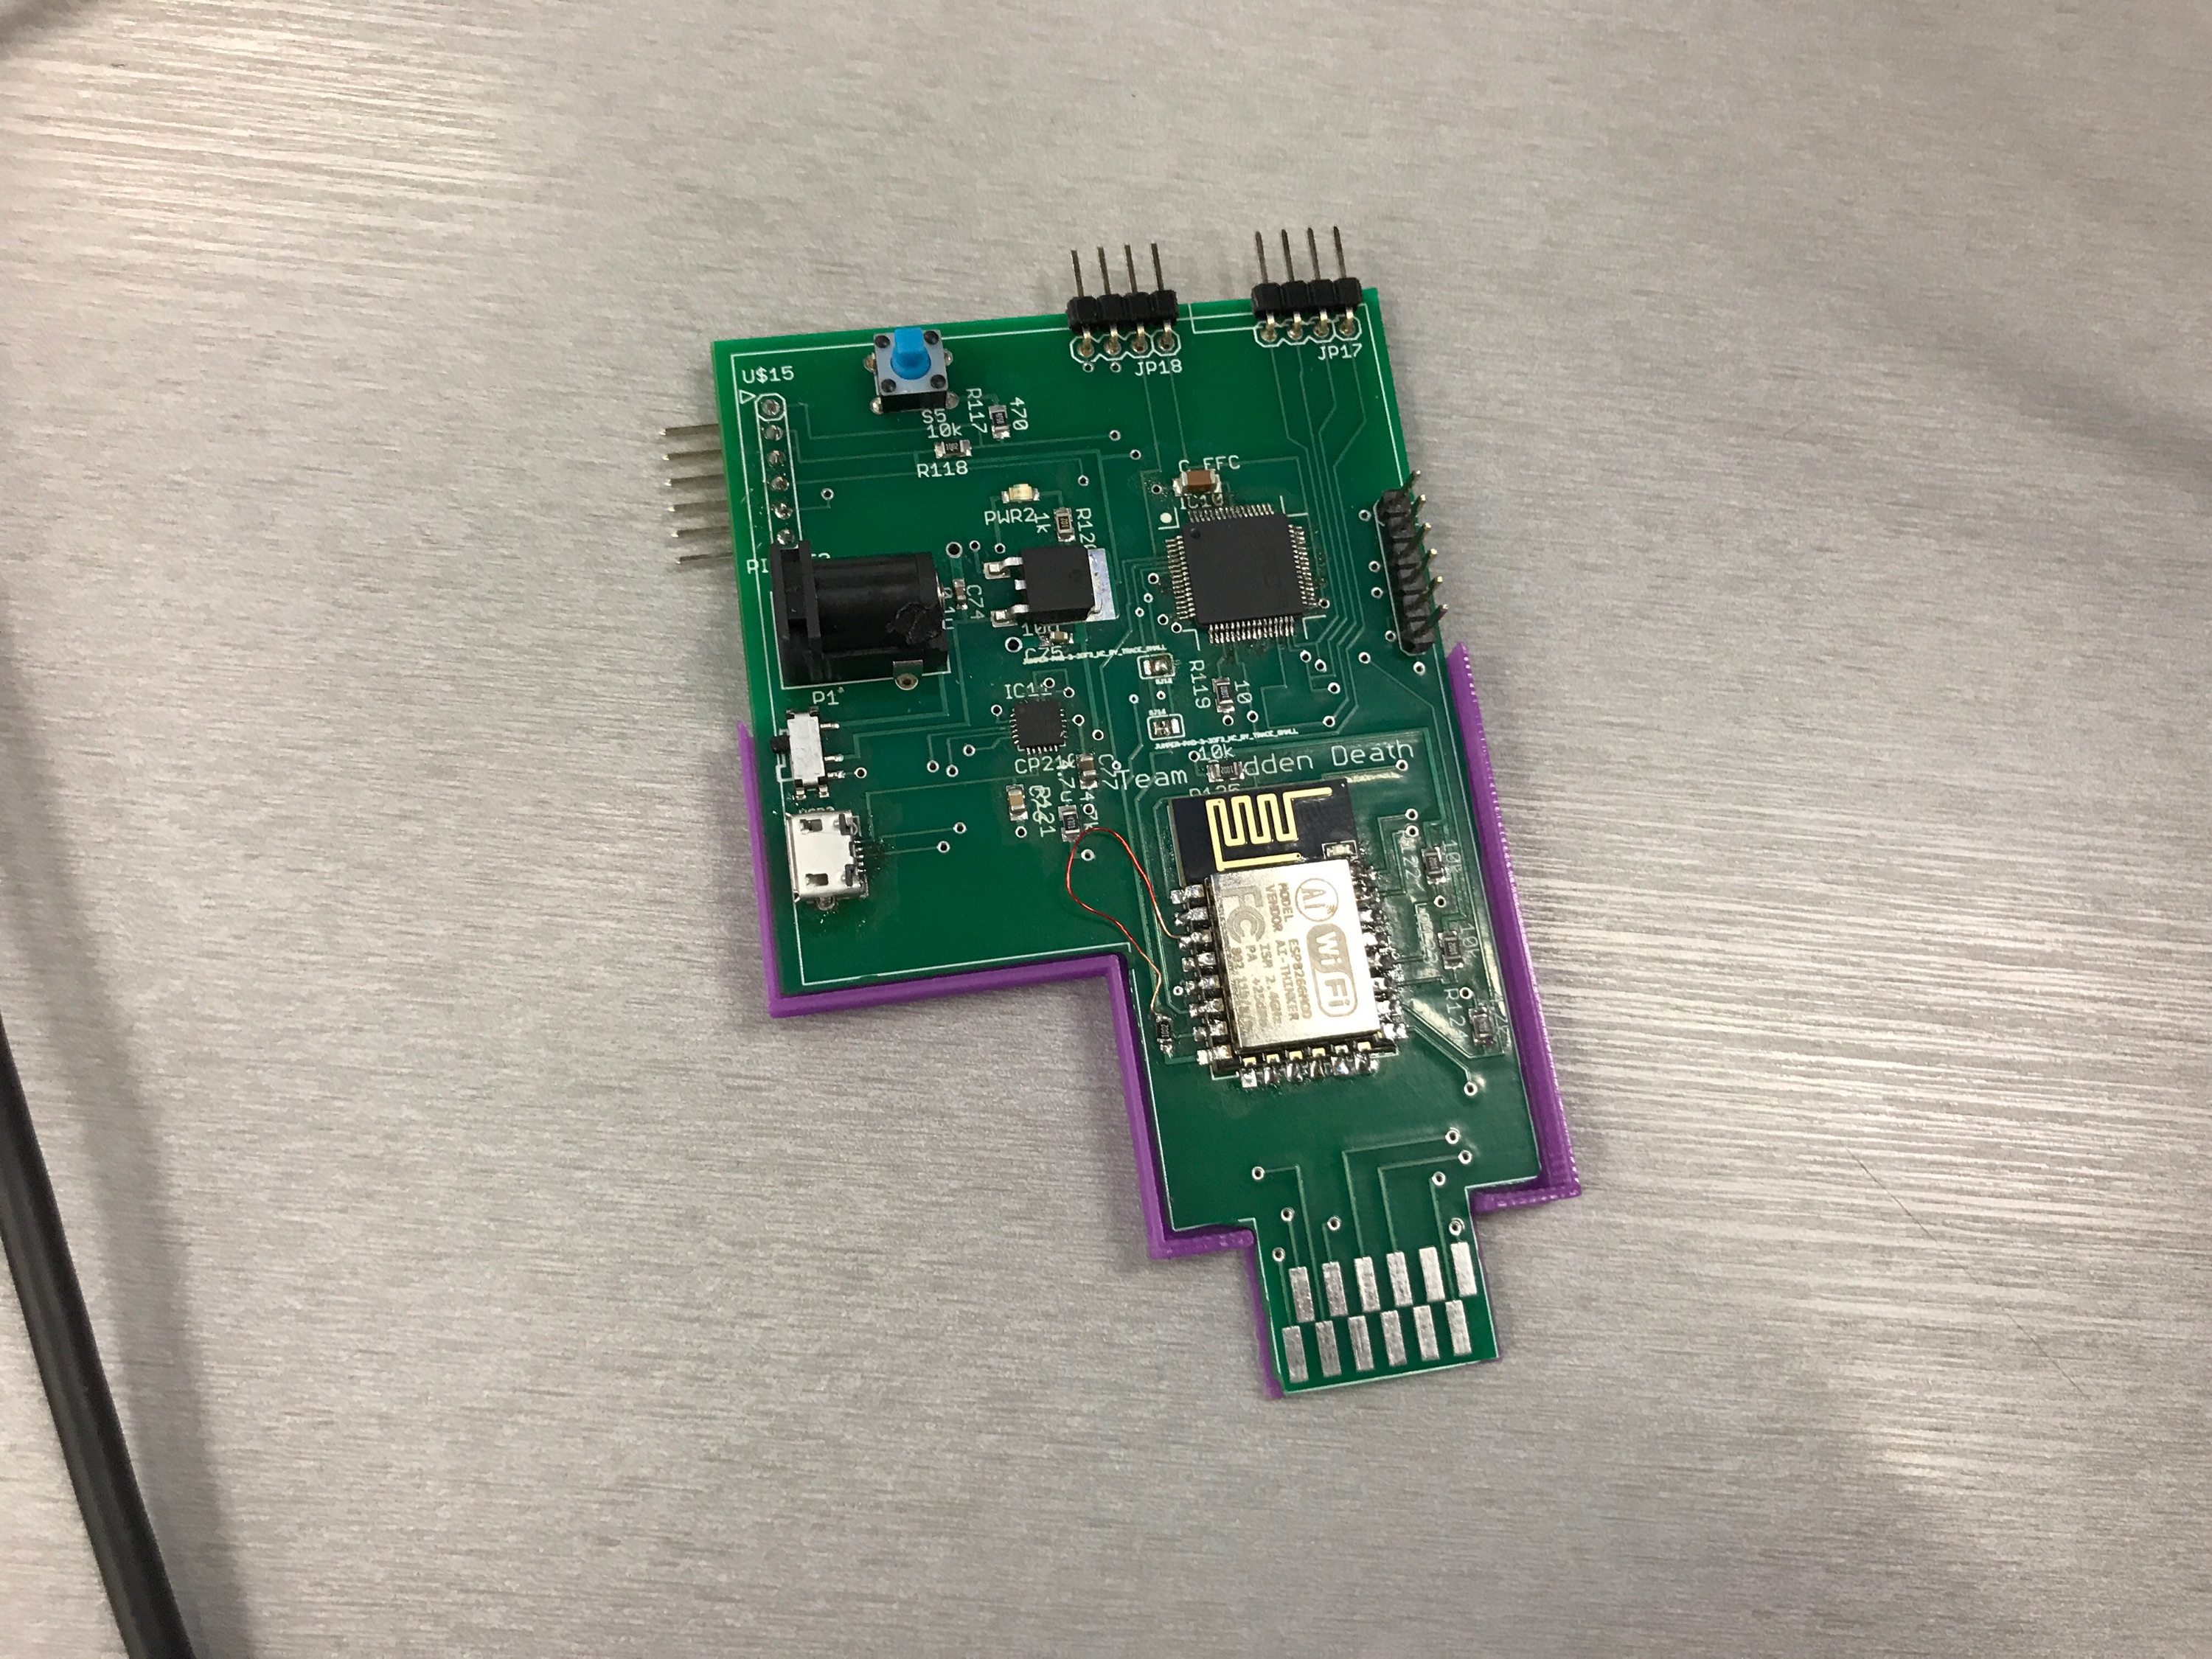
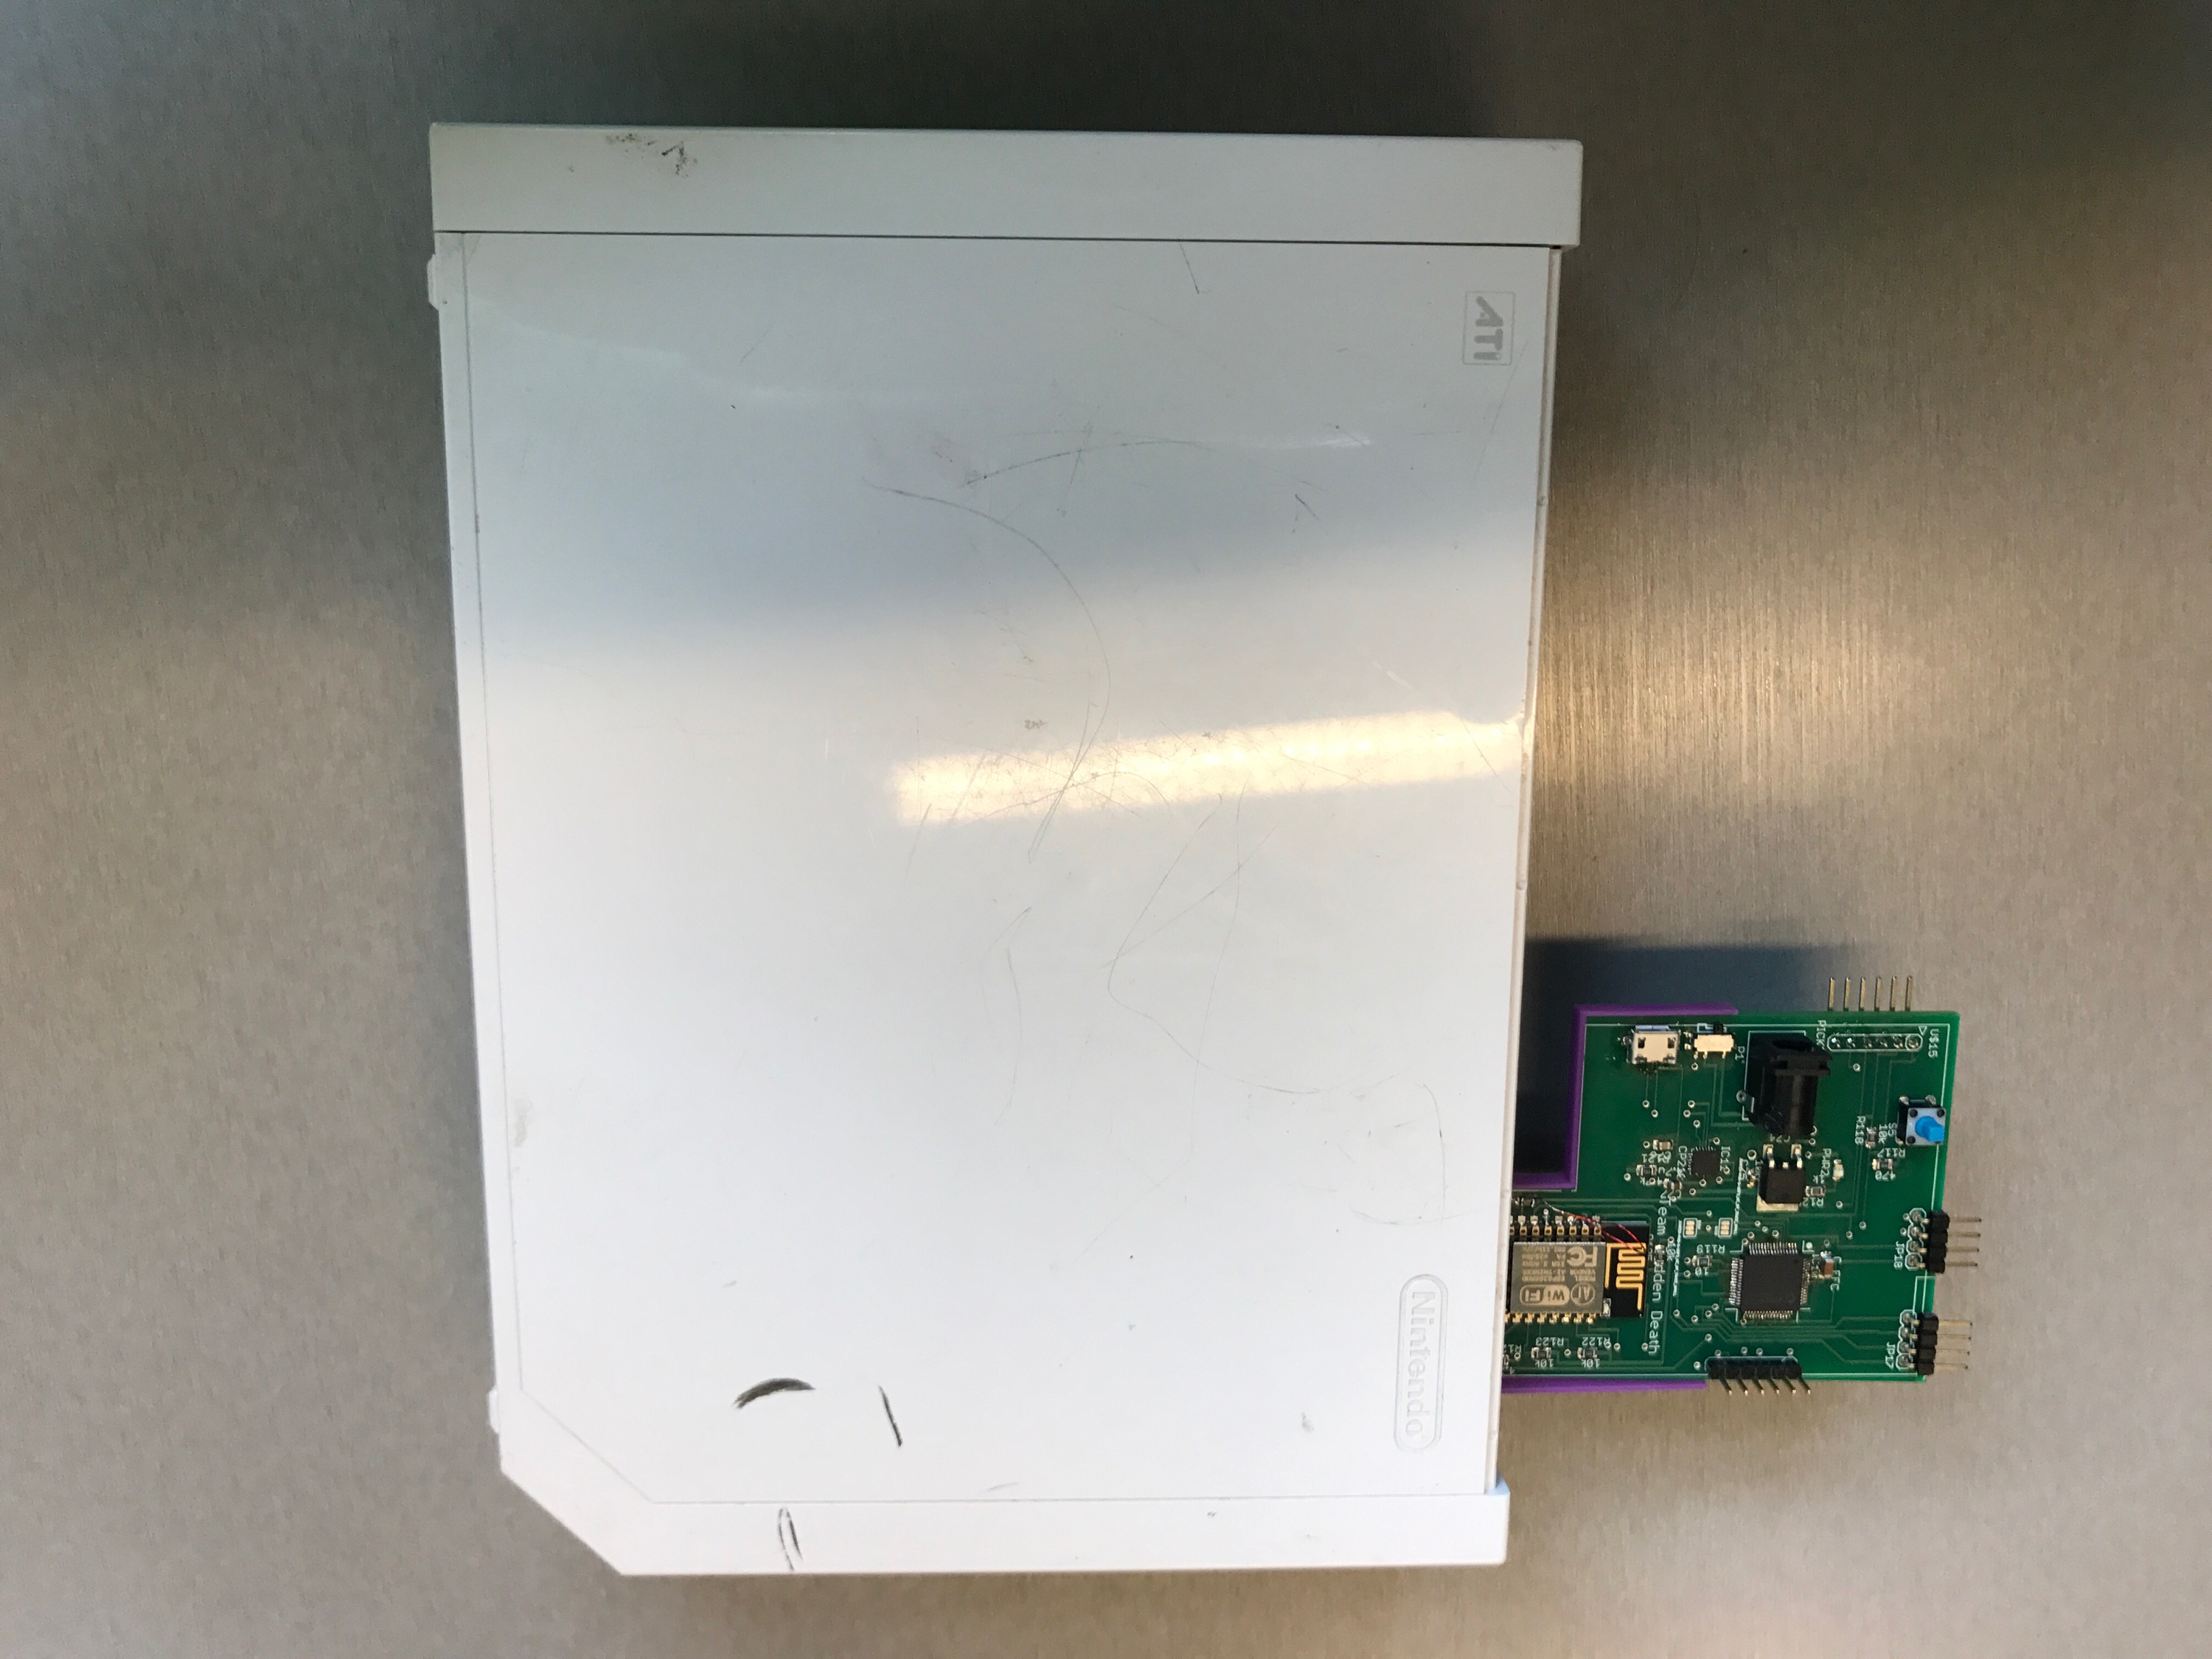
Board with 3D printed case
The break out pins did not fit perfectly into the memory card slot, so we 3D-printed a case that allowed the board to fit snugly into the port. Ideally, the entire breadboard would be encased, much like a GameCube memory card most people are familiar with.
Ideal hardware set up
Unfortunately, our board was not fully functional in time for demo day. This is what that set up would have looked liked--note the lack of wirings and compact hardware.
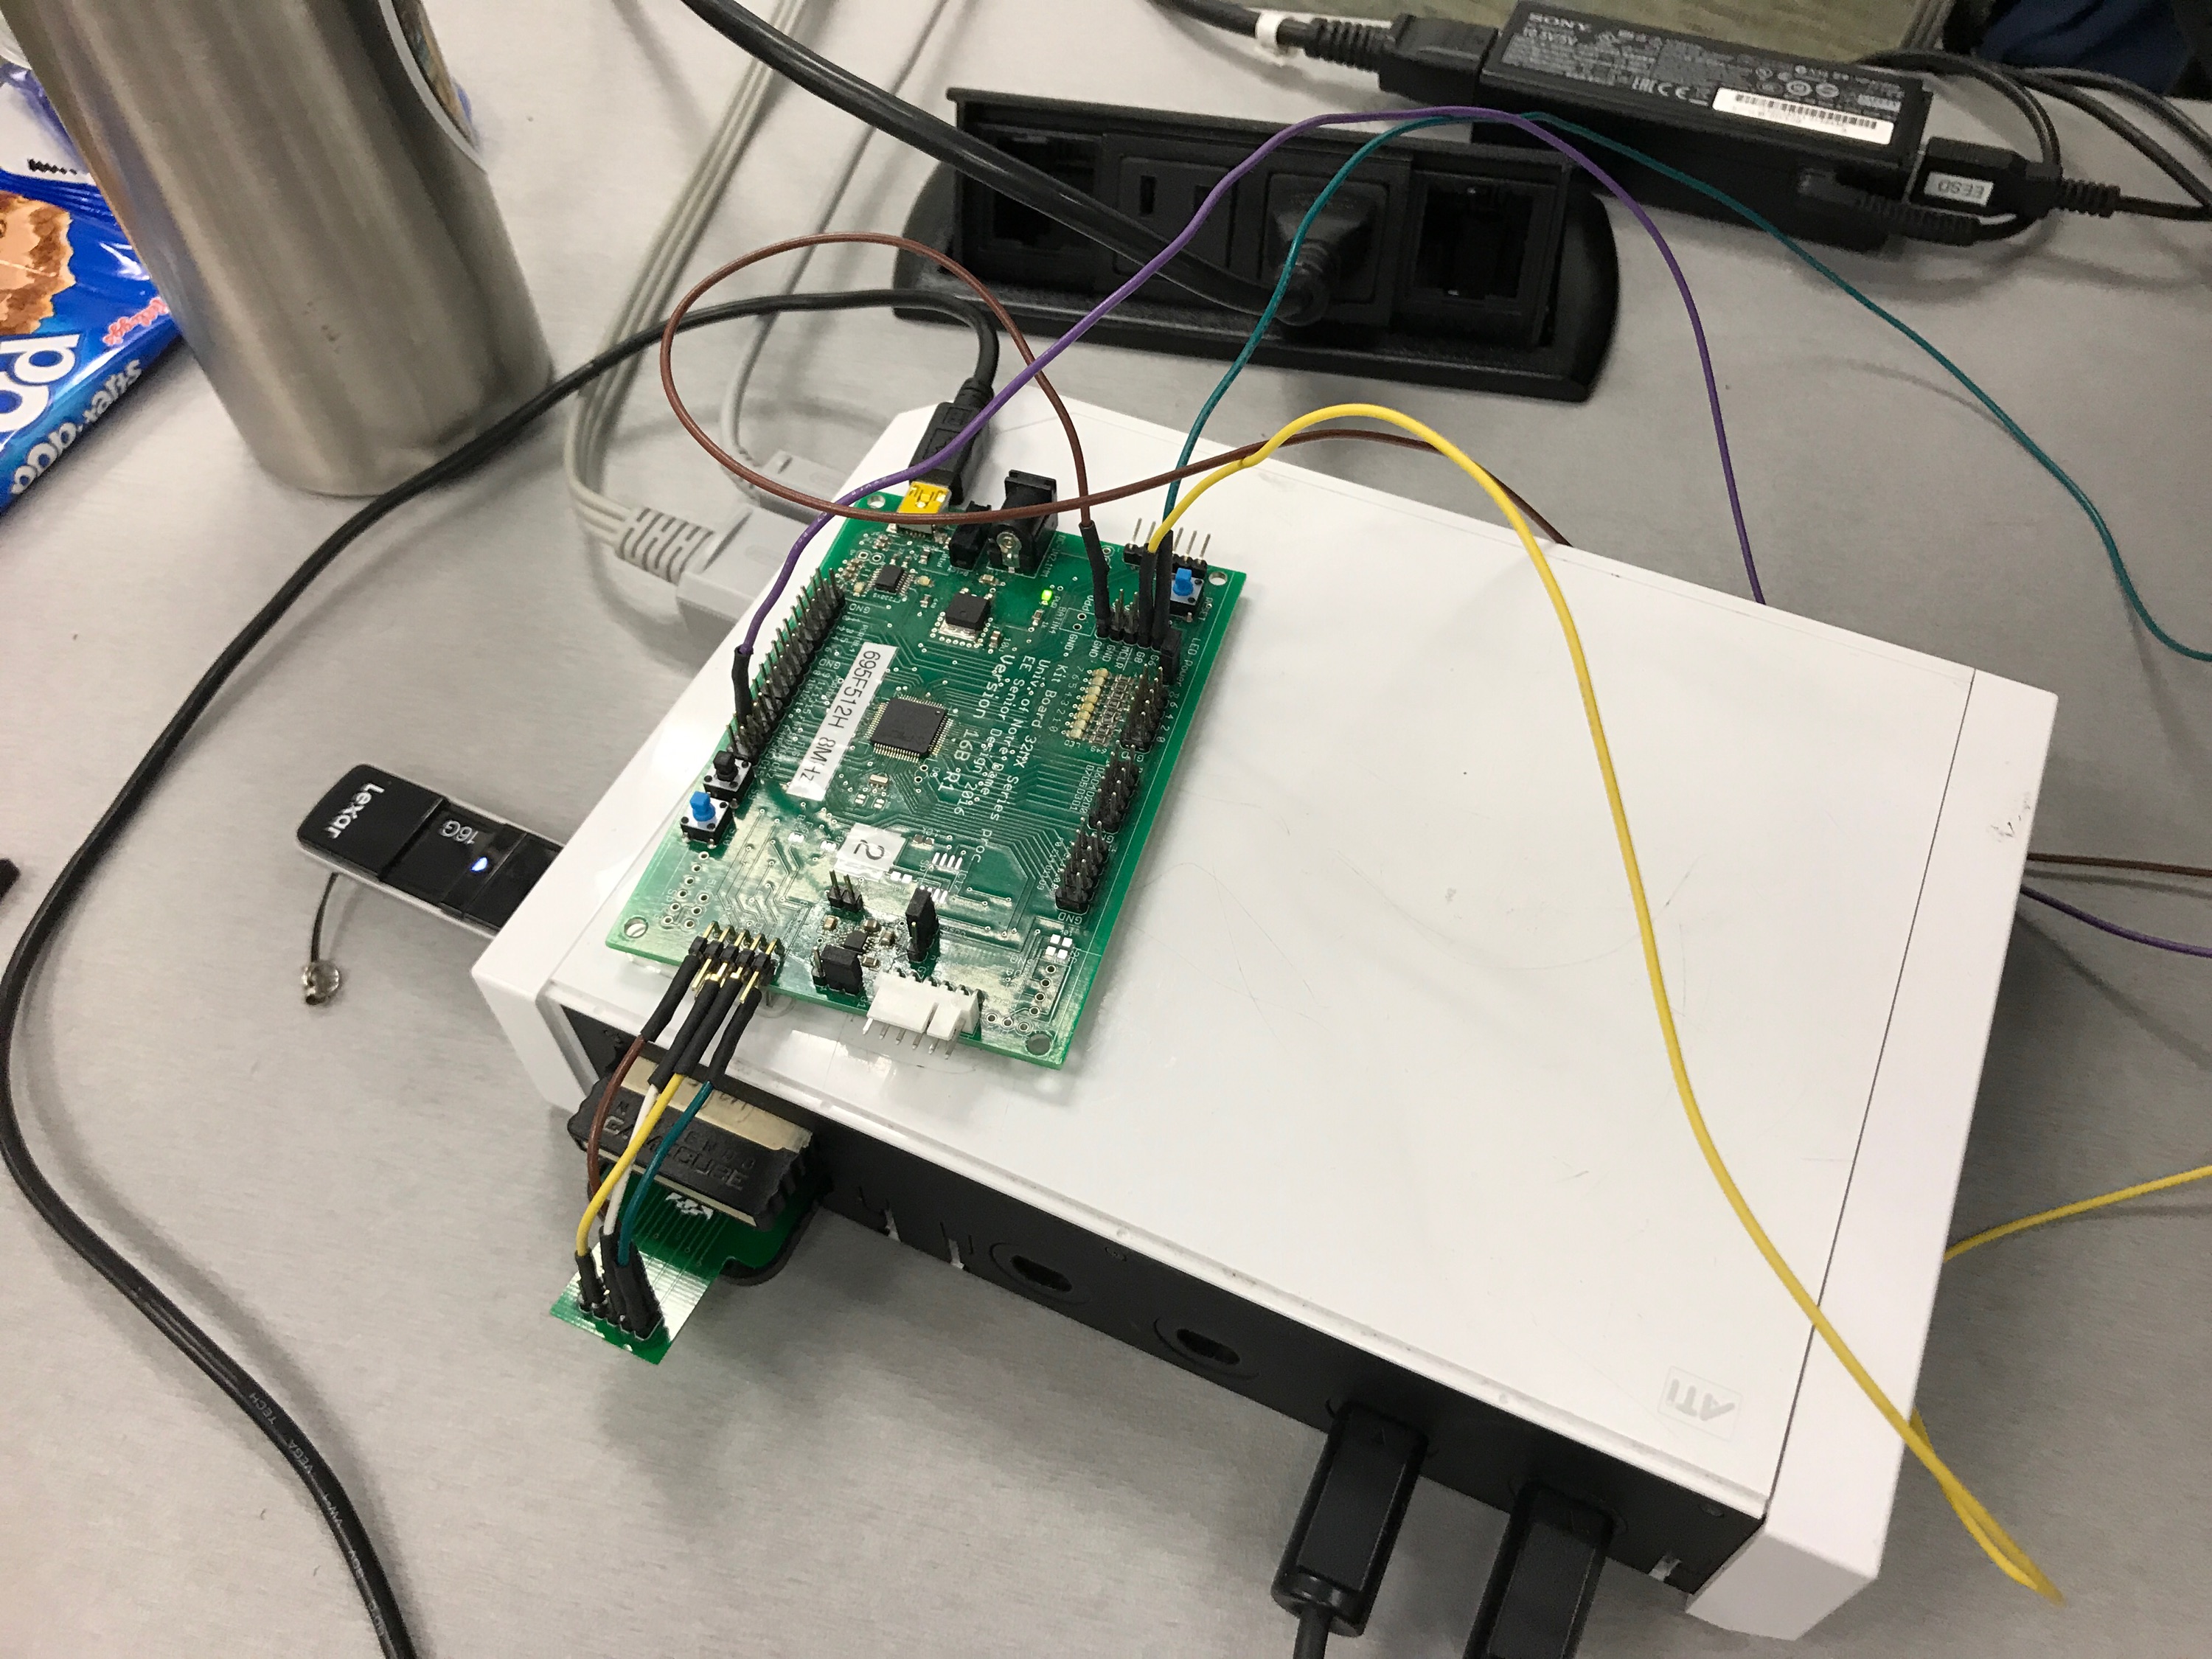
Demo day hardware set up
This is what our set up actually entailed. We used pins to connect our breakout pins to Dr. Schafer's Dev board, which were connected to the ESP (not pictured).
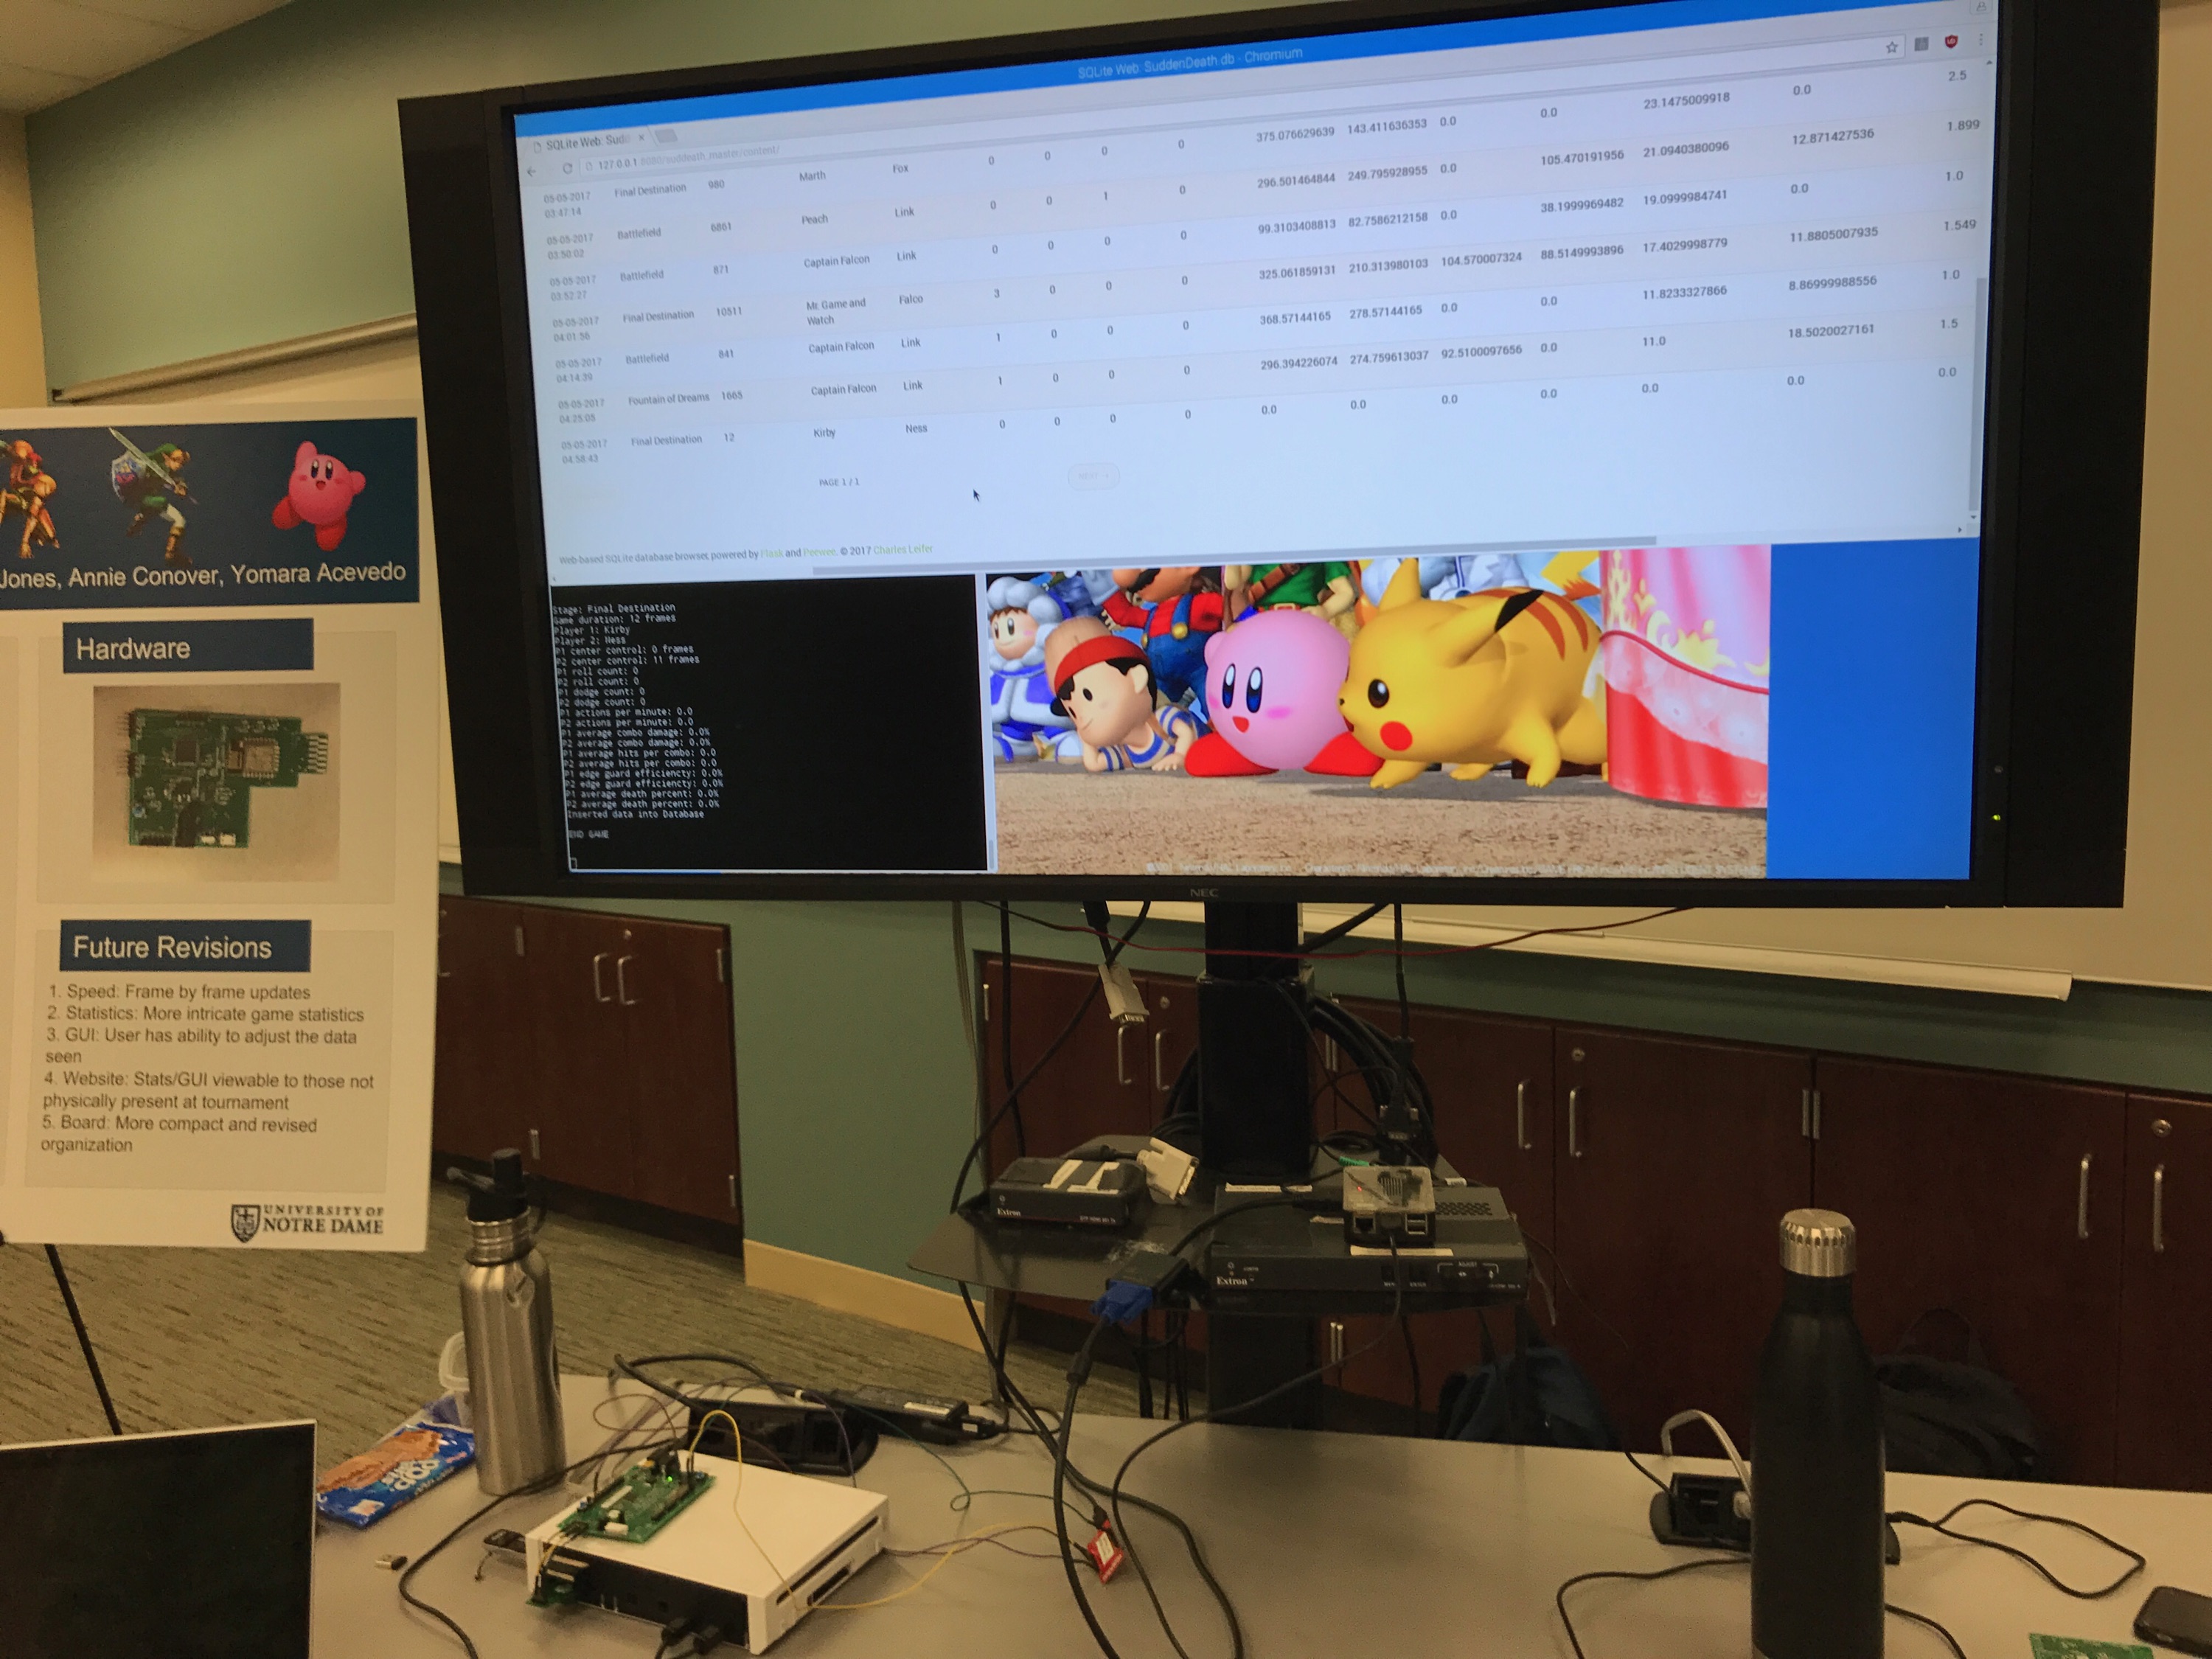
Final output
Terminal window as well as web application can both be seen. Match cancelled immediately after it began, producing odd results.
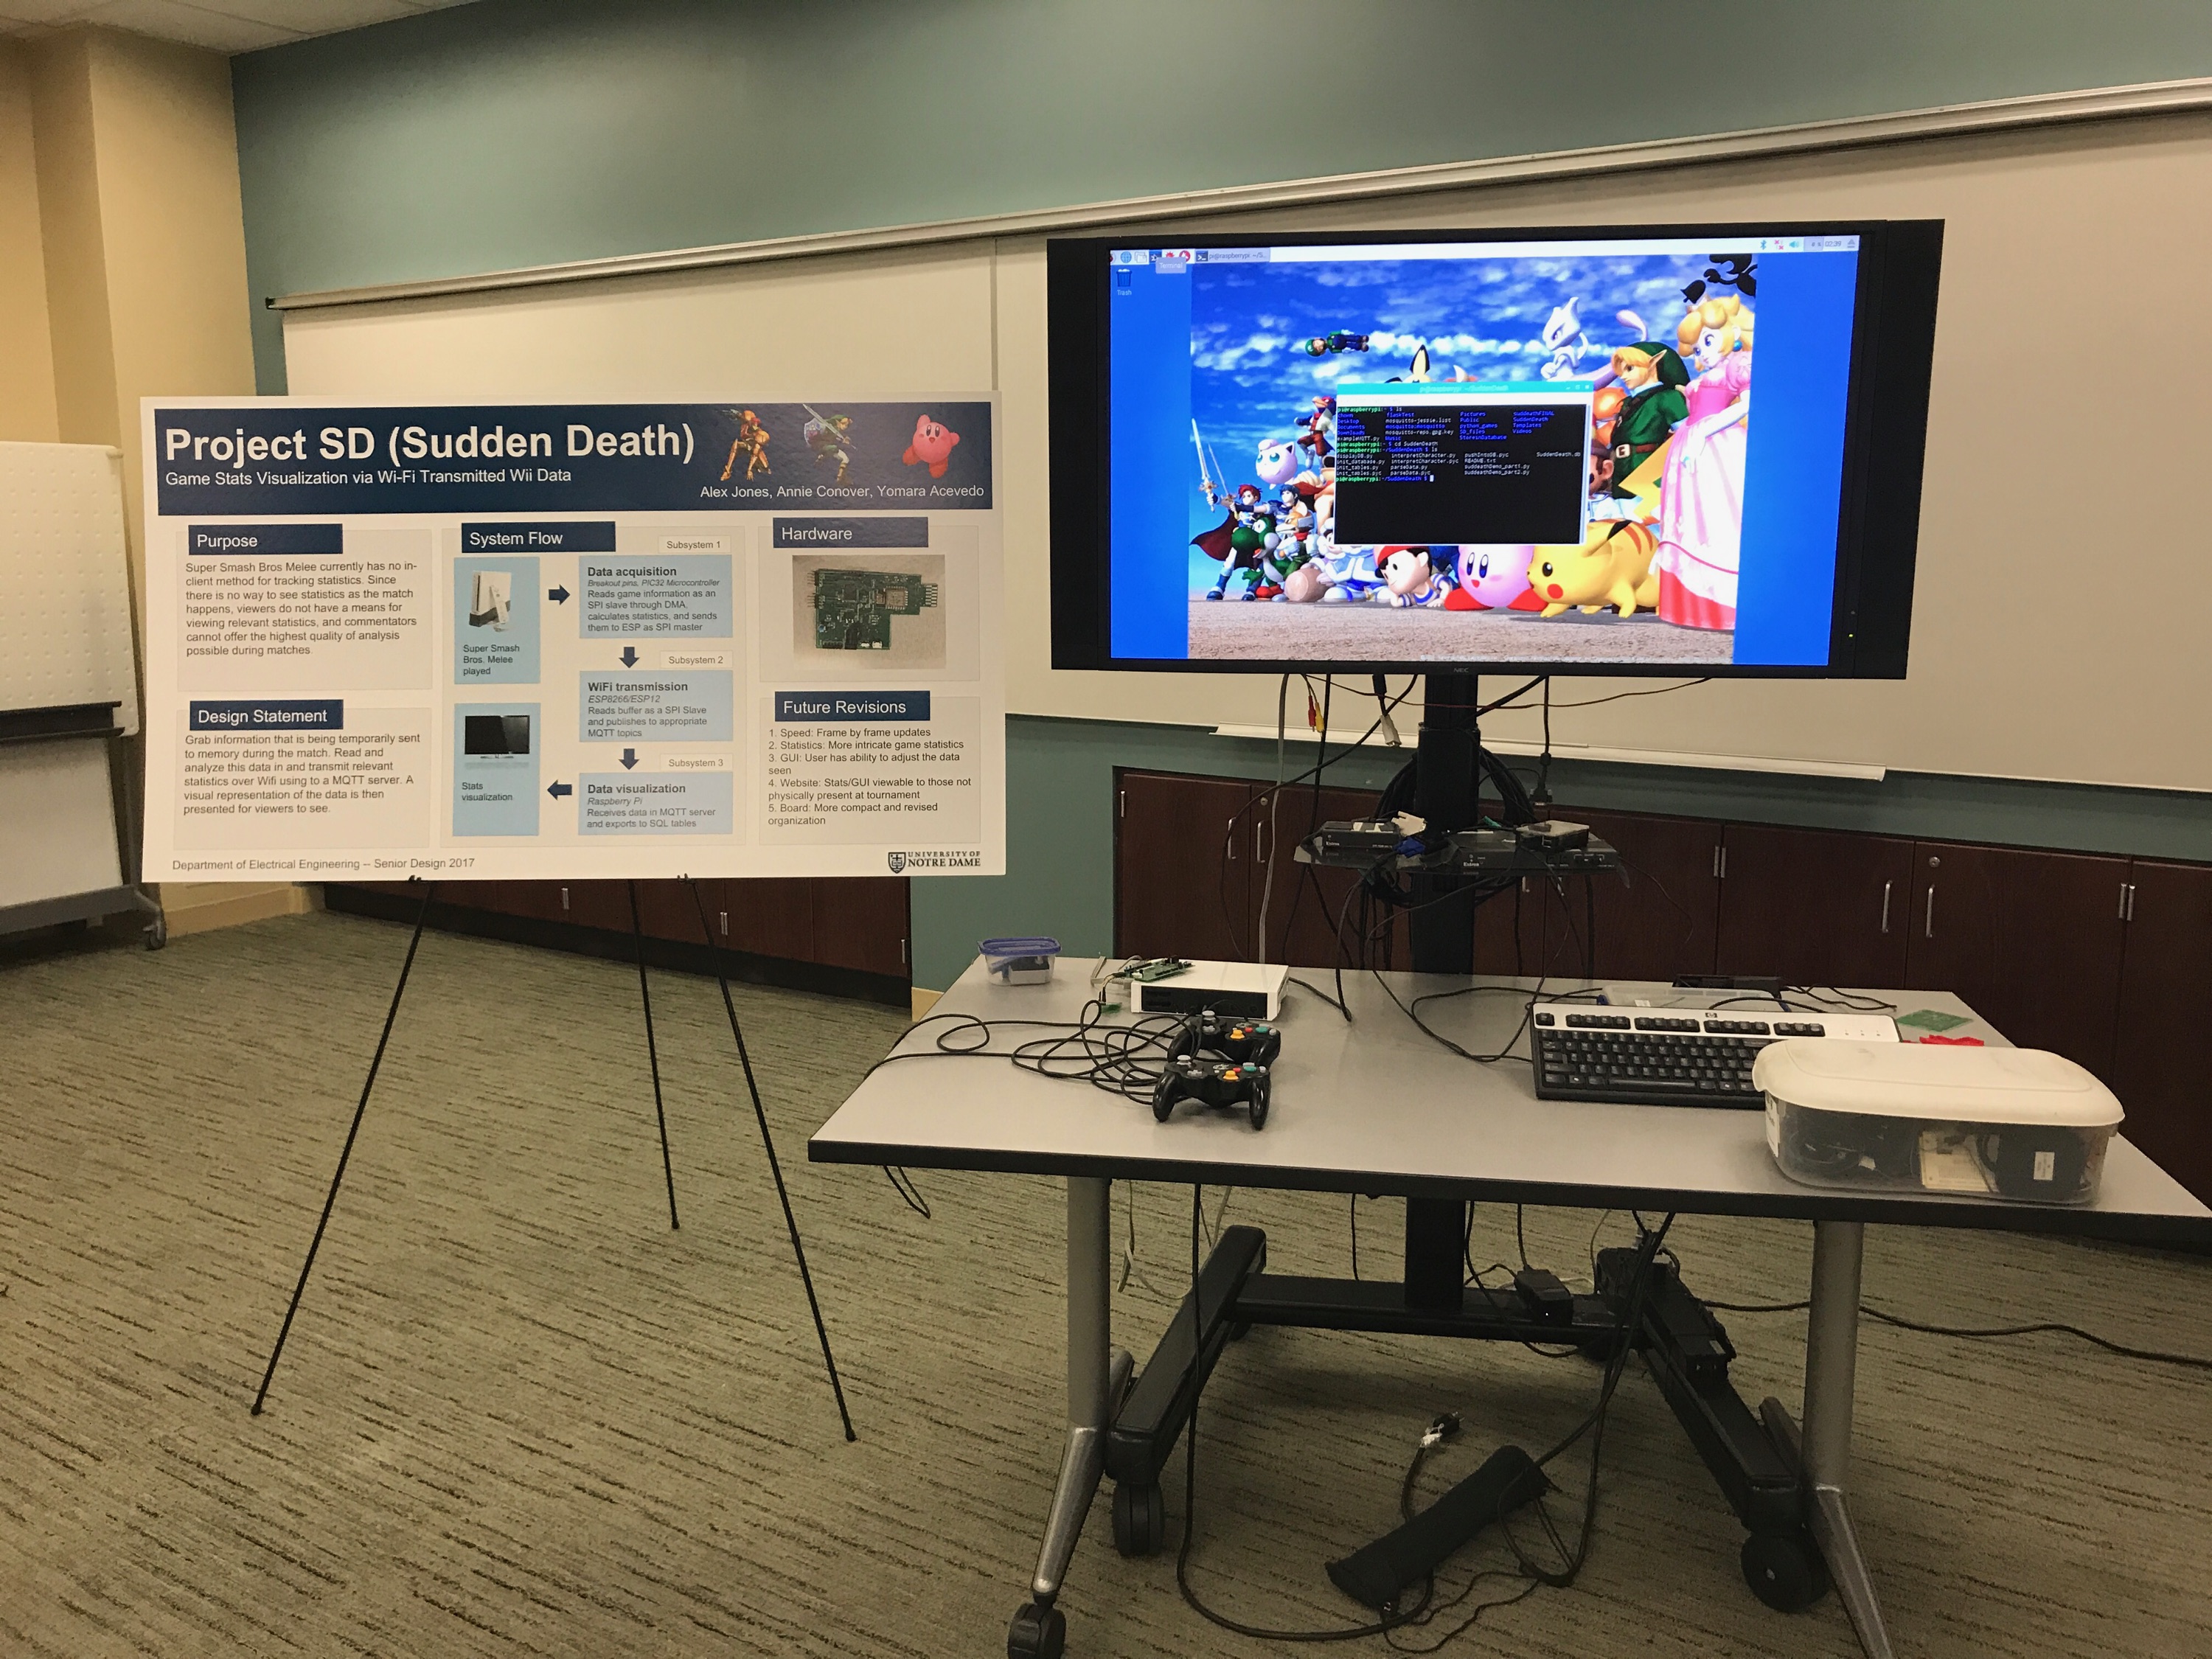
Demonstration Day set up
Hardware and software (almost) fully operational. The Wii and Raspberry Pi shared a screen, so we had to cycle through the inputs to demonstrate either at any given time.
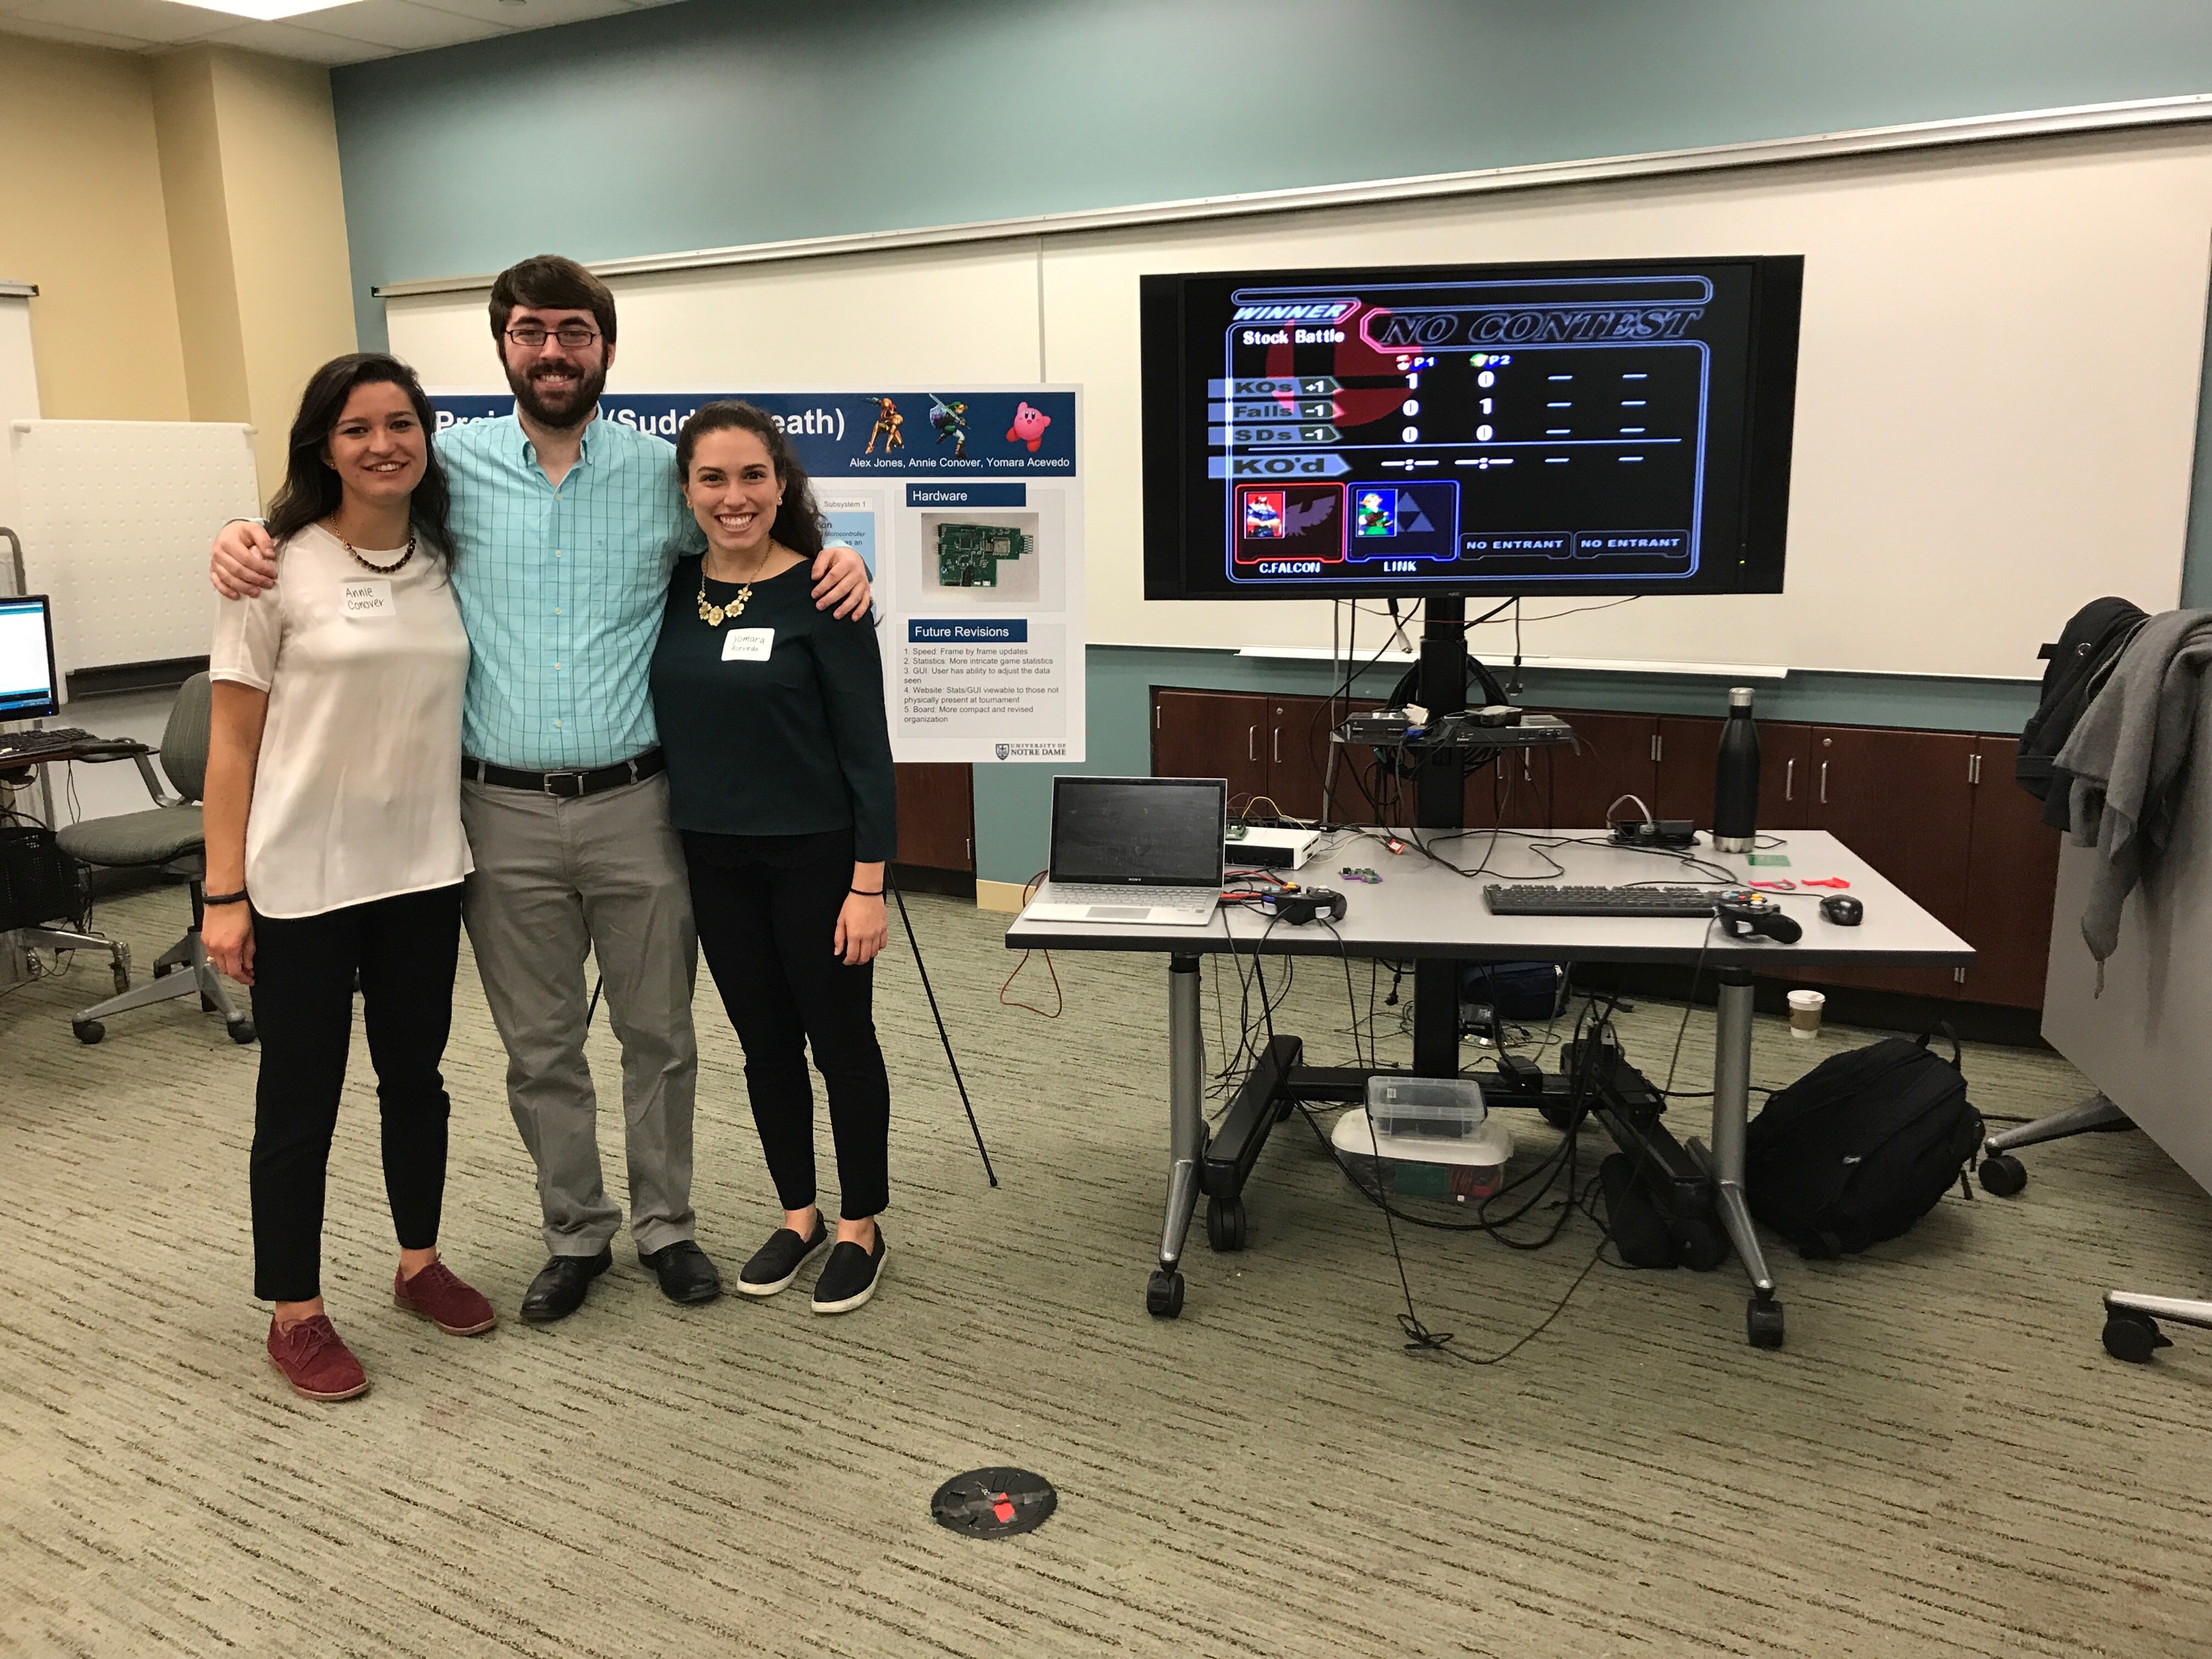
Proud group
The team, happy with the final product.

Women in engineering
Who run the world?